
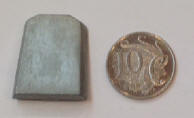
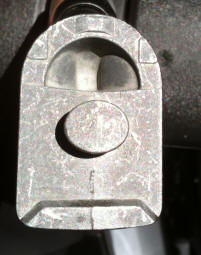
| BI-045C - Clip over |
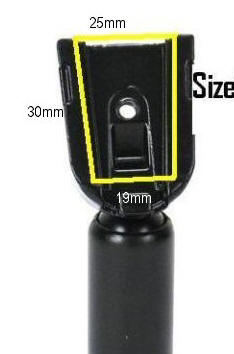
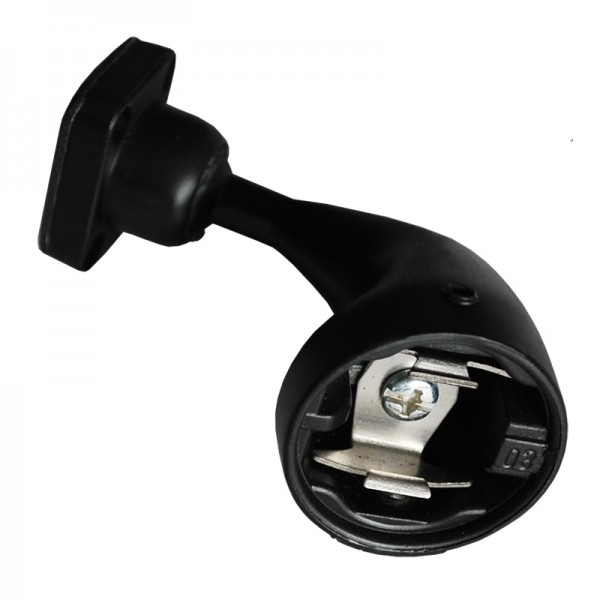
| BI-045R - replacement (needs an arm below) |
| Replacement with No 1 Arm (Most Toyota, Nissan, Holden, Ford, Mazda, Mitsubishi) |
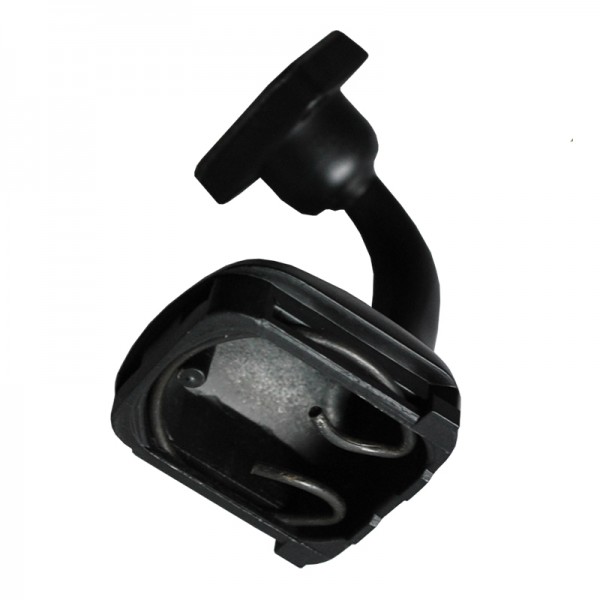
| Replacement with No 2 Arm (Honda accord / Odyssey / Mitsubishi Gallant) |
| Replacement with No 3 Arm (Most European Cars) |
| Replacement with No 7 Arm (Most Korean Cars) | |
| Replacement with No 42 Arm (Mercedes Vito) |
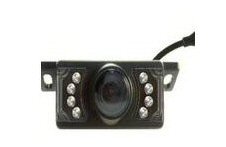
| Add number plate camera | |
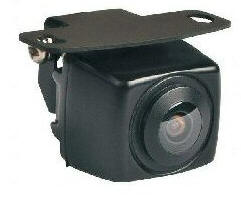
| Add tailgate camera | |
| Add bullet / bumper bar camera | Ozi Explorer |
4.3" GPS Mirror Monitor with Bluetooth & 2 inputs
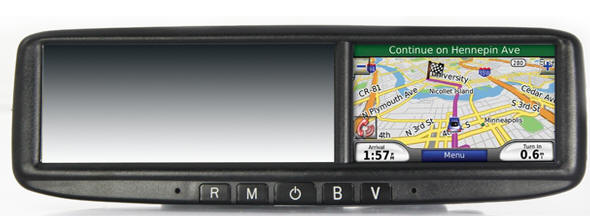
This system combines the
very best of GPS, Hands free Bluetooth and has 3 camera
inputs for reversing/ towing. When in reverse the
monitor will automatically switch to reverse image or
you can manually turn either camera on - PERFECT.
The left of this unit is glass mirror.
It clips over your existing mirror making installation
easy!
Latest mapping and announces street names
for turn by turn etc.
Brightness and Color, Contrast controls
Three video input
Can be connected with camera for safe parking
When the car is in reverse the rearview image will
automatically appear
Play video MP4, AVI, ASF, WMV,MP3, WMA, WAV format
Support JPEG,PDF image format
Audio frequency: 20Hz-20KHz.5dB
Audio S/N ratio: ≥85dB
Operation temperature: -10℃ to 55℃
Power consumption: ≤8W
Operated by DC 12V
Dimensions 275mm x 84mm
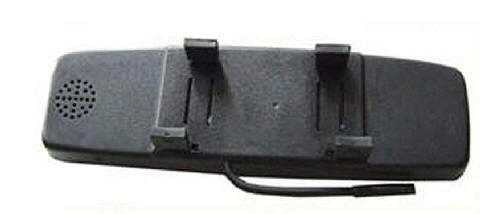 Clip over style
Arm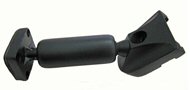
No 2 Arm 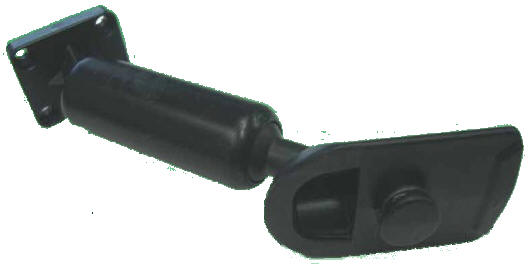
No 2
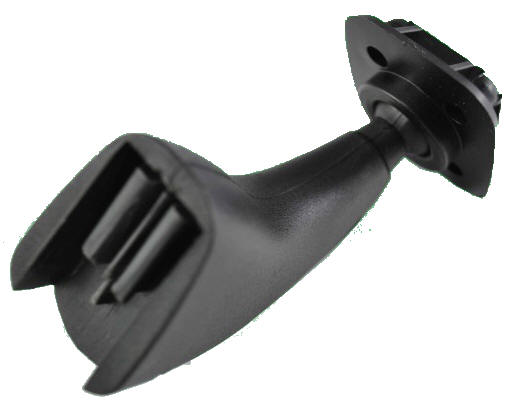
No 3 No
7 No 42
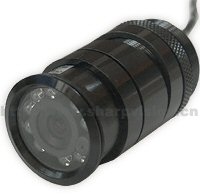
Bullet
/ Bumper Bar Number
Plate Tailgate
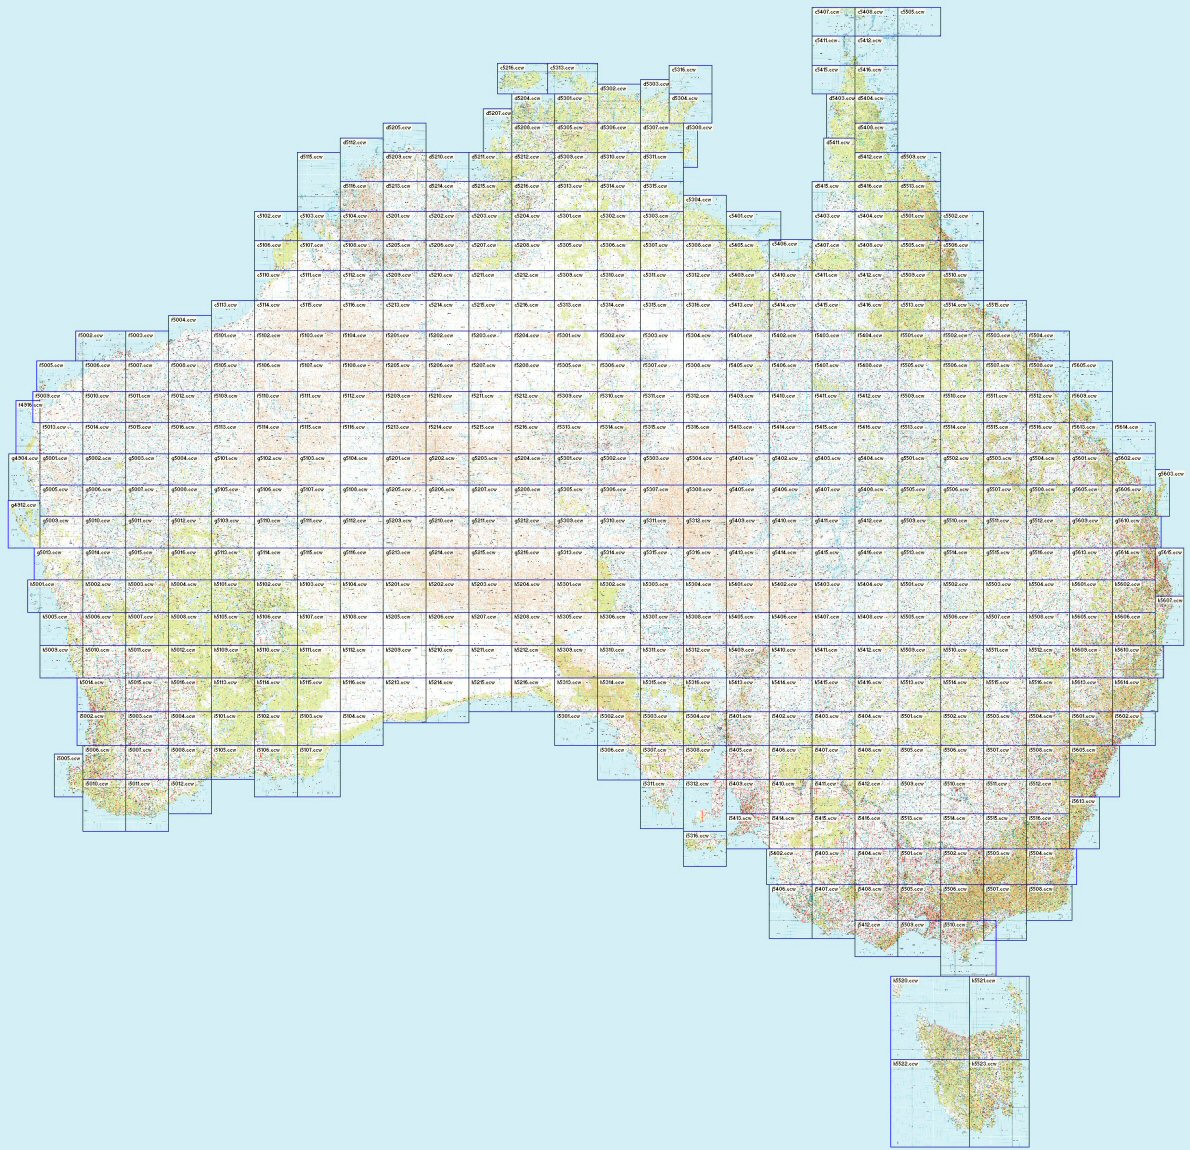
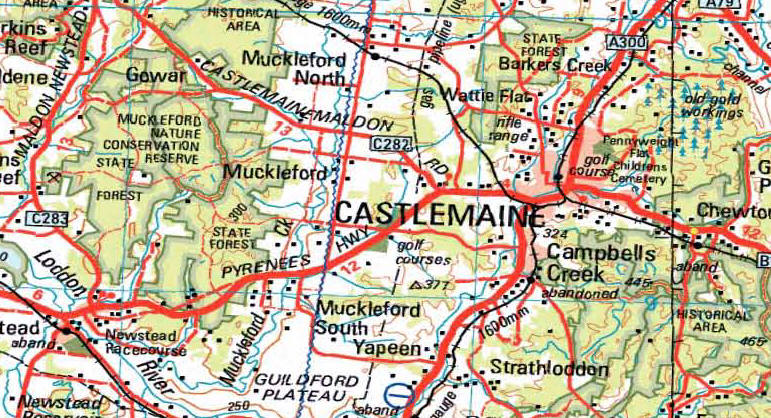
MAPPING: When the Ozi Explorer GPS option is purchased the unit will display 2 icons when selecting navigation. You will have the option of selecting either the standard turn by turn road mapping or the off road mapping. The Off-road mapping software is supplied by Ozi Explorer. The mapping for both the off road is supplied by Australian Geoscience maps using a 1:250K scale. The only help available for the use for how to use Ozi Explorer is via the link above, via online forums or private tuition. The areas for the Geoscience maps cover the entire Australian continent as well as the entire coast line. If you have other maps or other scales then these can be added to the SD card.
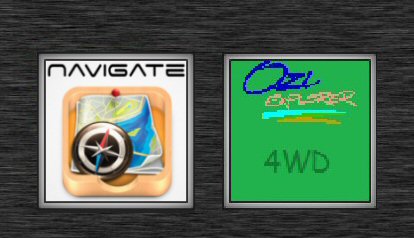
Select either Road maps or off road maps - no need to
change SD cards!
Ozi Explorer area covered using NAT Maps from Aus Geoscience
for Off road
and Marine mapping.
These maps have been digitally converted for Ozi
Explorer.
Ozi Explorer CE features:
Mark waypoints
Breadcrumb trail
Log & save tracks
Many map zoom levels
More/Less detailed maps
Automatic loading of next map
Roads
Major road to public or private track
with minimum or no construction
Hydrographic
Watercourse, canals, perennial lake, bore, well,
wind pump, waterhole, spring, swamp
Cultural features
Pipelines, tanks, homesteads, ruins, landmarks,
fence, levee, quarry, mine
Boundaries
State & territory borders, reserves and prohibited
areas
Railways
Tracks, stations, sidings and abandoned lines
Vegetation
Forest, scrubland, rain forest, plantation, orchard
Aircraft facilities
Airport, landing strip, helipad
Offshore & Coastal features
Boat ramp, lighthouse, reef, shoal, wreck, costal
flat, mangrove
Relief
Elevation, sand dunes, cliffs, sand ridges, pinnacle
and contour lines with values.
Ozi Explorer area covered using Aus Geoscience off road
mapping:

GENERAL CONNECTIONS FOR ALL RCA MONITORS:
Both Camera and monitor need to be powered by connecting
Red - Positive
Black - Negative
If the power cable does not have Red/Black wires then
you will need to test using a multi meter. The inside
of the plug is positive, the outside negative
For this monitor:
Yellow = constant 12V,
Red = accessories
Black = earth
Blue = Not units.
The connection between the camera and the monitor is via
a simple RCA cable. Only the YELLOW is used.
The unit will auto detect when a camera signal is
received.
If more instructions are needed then you
should be getting this unit professionally installed
Of course all items supplied should be tested BEFORE
installation.