
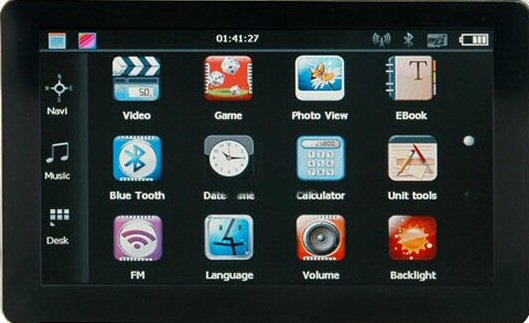
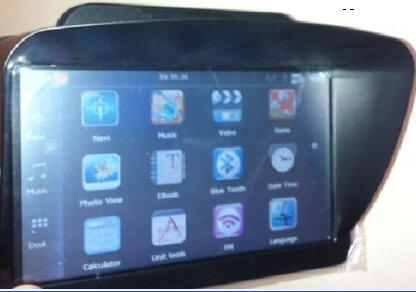
| BIGPS50M 5.0" (800 x 480) | Ozi Explorer |
Sleek Body 5.0" GPS with inbuilt B/tooth, FM sender, Games, MP4
5"
(130mmx 80mm)| CPU | MediaTek MT3351 / C 486MHz |
| FLASH | 256M bytes SLC FLASH |
| DDR SDRAM | 256bytes |
| LCD | 4.3inch 64K TFT (480 x 272) / 5.0inch (800 x 480 ) |
| TSP | Touch Screen Supported |
| USB | USB Client 2.0, Full speed (12Mbps), Mini Slot With USB Mass Storage Function or ActiveSync |
| SD | SD / Multimedia Card Slot supports up to 8GB |
| Audio | Mono 1W@8ohm Speaker Stereo 31 mW/32ohm Headphone |
| Button | Power On/Sleep, Menu, Hidden Reset |
| FM | YES |
| Car Video | YES |
| Suction Mount | YES |
| Line in | YES |
| Recorder | Module and Antenna Built In |
| GPS Receiver | Module and Antenna Built In |
| GPS | Sensitivity: |
| Tracking:-161dBm(11dB-Hz) | |
| Hot Start:-146 dBm(24dB-Hz) | |
| Warm Start: -146 dBm(24dB-Hz) | |
| Cold Start: :-146 dBm(24dB-Hz) | |
| Reacquisition: :-156 dBm(16dB-Hz) | |
| Battery | 800mA |
| Charging | 5V DC Power Jack |
| AC Adapter | 120/220V universal AC/DC adapter |
| Car Adapter | 12VDC to 5VDC 1.5A |
| LED Status | Adapter plug in and Battery Charging (Red LED On, Green LED Off) |
| Adapter plug in and Battery Full (Red LED Off, Green LED On) | |
| Temperature | Operating: 0 °C to 60 °C , Storage: -20 °C to 60 °C |
| O/S | Win CE |
| Language | Simplified Chinese Character + English |
| Traditional Chinese + English | |
| Italian, French, Spanish, German, Portuguese, Dutch, Greek, Swedish, Finnish | |
| Navigation Software | Third Party |
| Video Player | WMV9, DivX 5.0, 4.0, 3.11, XviD and MPEG2 up to 480*272resolutions |
| Audio Player | WMA9, MP3 up to 320k bps and WAV |
| Photo Viewer | JPG, GIF, BMP and PNG |
| E book Reader | TXT |
| System Setting | Backlight/Date Time/Volume/Power/Sys Info |
READ THE OZI EXPLORER HELP FILE HERE
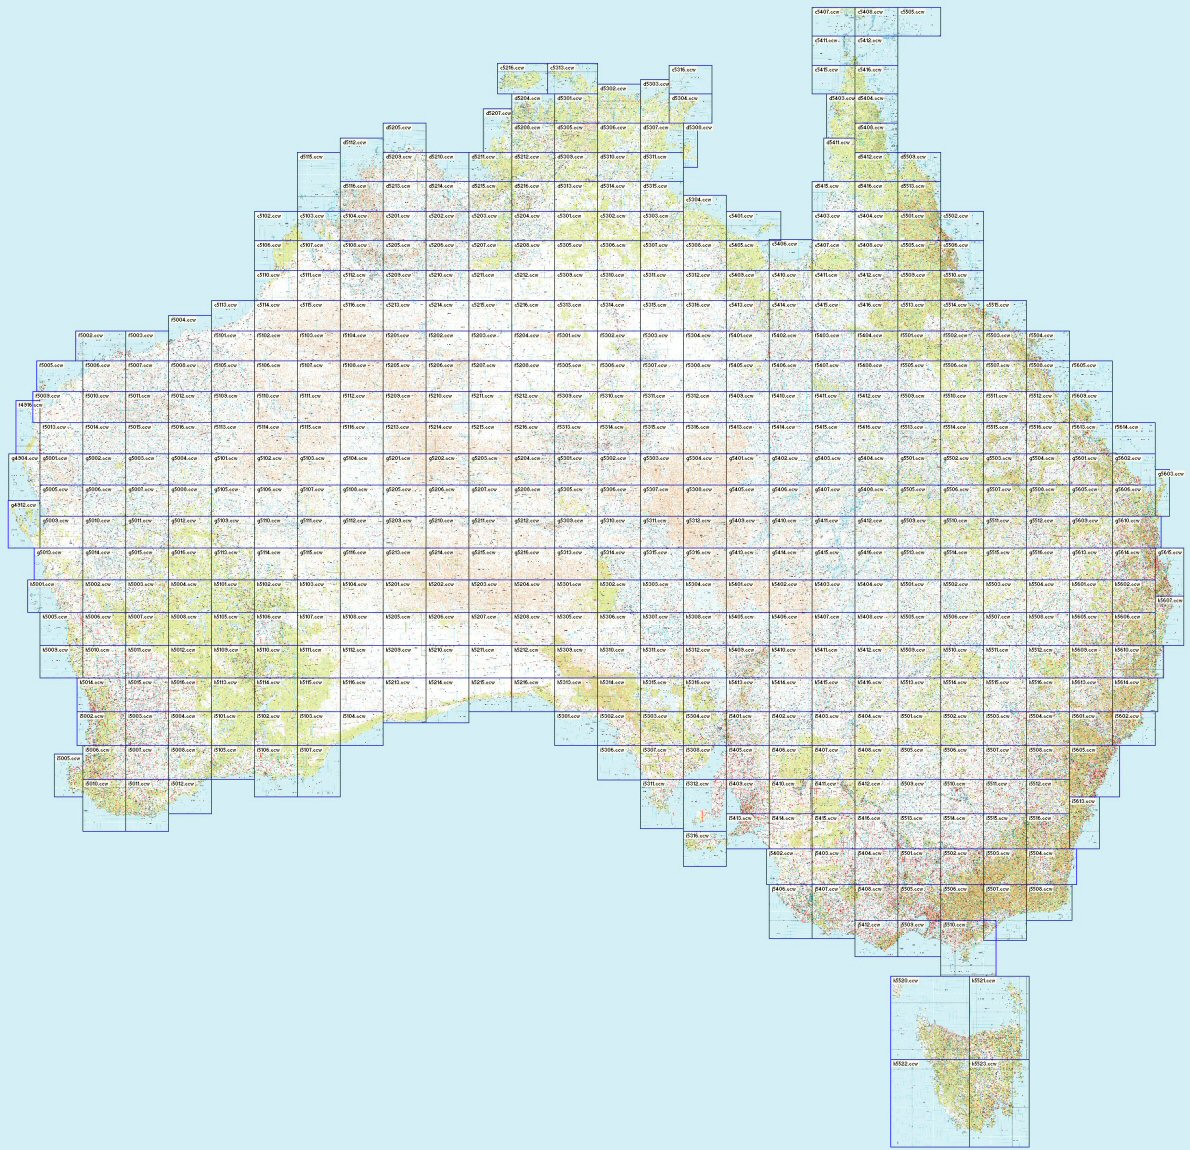
MAPPING: When the Ozi Explorer GPS option is purchased the unit will display 3 icons when selecting navigation. You will have the option of selecting either the standard turn by turn road mapping, the off road or marine mapping. The Off-road and marine mapping software is supplied by Ozi Explorer. The mapping for both the Off road and marine is supplied by Australian Geoscience maps using a 1:250K scale. The only help available for the use for how to use Ozi Explorer is via the link above, via online forums or private tuition. The areas for the Geoscience maps cover the entire Australian continent, entire coast line and most popular areas of the South Pacific (Fiji, Solomon's, New Caledonia, New Zealand, Vanuatu etc). If you have other maps or other scales then these can be added to the SD card.

Select either Road maps or either Ozi Explorer option,
no need to change SD cards!
Ozi Explorer area covered using NAT Maps from Aus Geoscience
for Off road
and Marine mapping.
These maps have been digitally converted for Ozi
Explorer.
Ozi Explorer CE features:
Mark waypoints
Breadcrumb trail
Log & save tracks
Many map zoom levels
More/Less detailed maps
Automatic loading of next map
Roads
Major road to public or private track
with minimum or no construction
Hydrographic
Watercourse, canals, perennial lake, bore, well,
wind pump, waterhole, spring, swamp
Cultural features
Pipelines, tanks, homesteads, ruins, landmarks,
fence, levee, quarry, mine
Boundaries
State & territory borders, reserves and prohibited
areas
Railways
Tracks, stations, sidings and abandoned lines
Vegetation
Forest, scrubland, rain forest, plantation, orchard
Aircraft facilities
Airport, landing strip, helipad
Offshore & Coastal features
Boat ramp, lighthouse, reef, shoal, wreck, costal
flat, mangrove
Relief
Elevation, sand dunes, cliffs, sand ridges, pinnacle
and contour lines with values.
When Ozi Explorer is loaded your navigation screen will
display as
giving you options for Road Mapping, Off Road and
Marine. Without this option your unit will default
to road mapping.
Ozi Explorer area covered using NAT Maps from Aus Geoscience
for Off road
and Marine mapping.
These maps have been digitally converted for Ozi
Explorer.
Ozi Explorer CE features:
Mark waypoints
Breadcrumb trail
Log & save tracks
Many map zoom levels
More/Less detailed maps
Automatic loading of next map
Roads
Major road to public or private track
with minimum or no construction
Hydrography
Watercourse, canals, perennial lake, bore, well,
windpump, waterhole, spring, swamp
Cultural features
Pipelines, tanks, homesteads, ruins, landmarks,
fence, levee, quarry, mine
Boundaries
State & territory borders, reserves and prohibited
areas
Railways
Tracks, stations, sidings and abandoned lines
Vegetation
Forest, scrubland, rain forest, plantation, orchard
Aircraft facilities
Airport, landing strip, helipad
Offshore & Coastal features
Boat ramp, lighthouse, reef, shoal, wreck, costal
flat, mangrove
Relief
Elevation, sand dunes, cliffs, sand ridges, pinnacle
and contour lines with values.
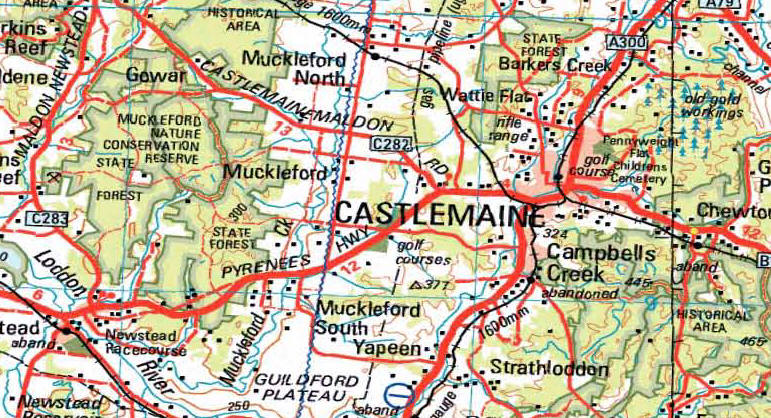
Typical Image of marine mapping - Port Phillip Bay
mapping provided
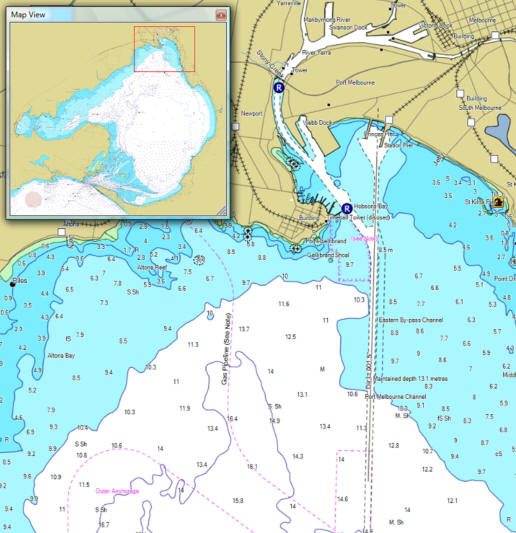

Detailed maps like this are included. This image
is of Port Phillip Heads (Vic)

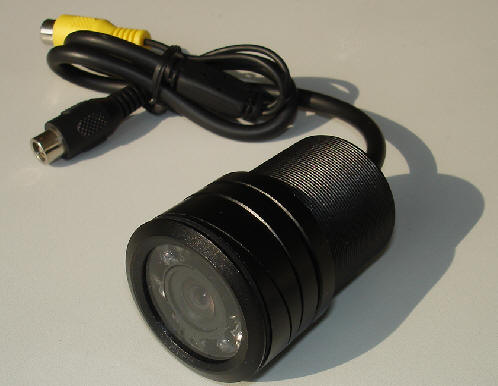
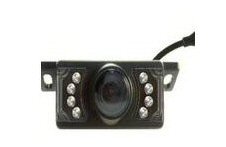
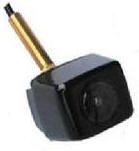
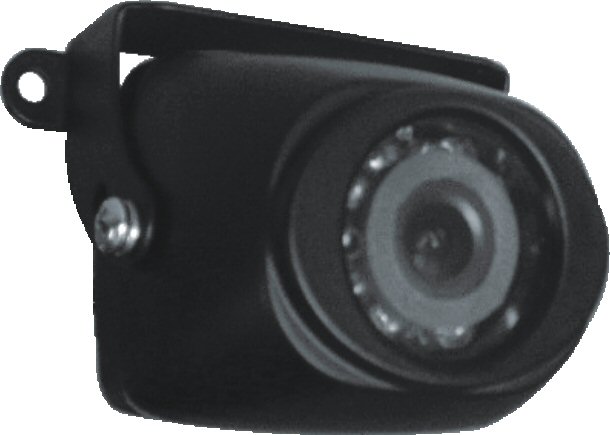
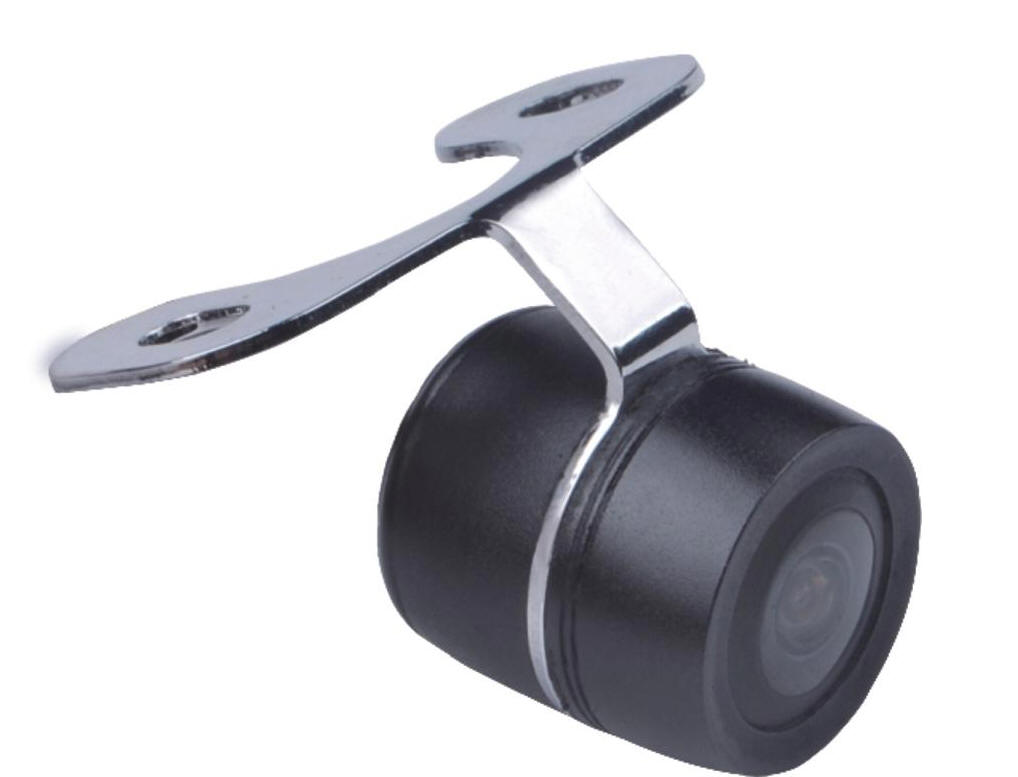
Camera Options:
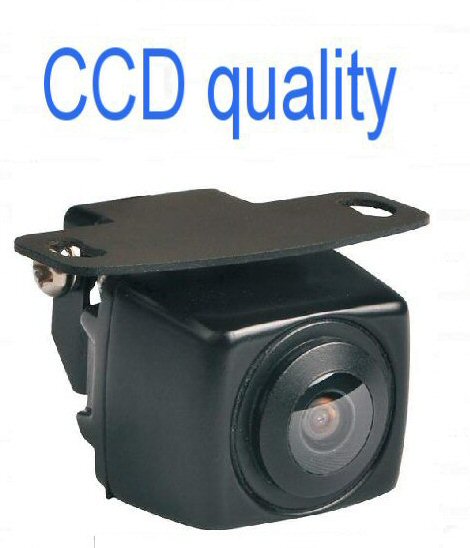
Bullet Number Plate Miniature
Tailgate A
Miniature Tailgate B
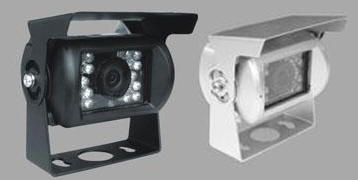
Heavy Duty Butterfly
Caravan Camera
Miniature Tailgate C
| Camera Options | CMOS |
| Bullet CMOS | |
| Number Plate CMOS | |
| Miniature Tailgate A CMOS |
|
Miniature Tailgate B |
|
Heavy Duty Butterfly |
|
Truck / Van |
|
| Miniature Tailgate C CCD |
| Extra 6M M - M RCA cable |
First Camera is automatically supplied with a 6M RCA cable
Second Camera is supplied with both 6M and 15M RCA cabling
GENERAL CONNECTIONS FOR ALL RCA MONITORS:
Both Camera and monitor need to be powered by connecting
Red - Positive
Black - Negative
If the power cable does not have Red/Black wires then
you will need to test using a multi meter. The inside
of the plug is positive, the outside negative
Some monitors may also have a green wire which, when
connected to the positive side of the reversing light
will make the camera display on input no 2. If
connecting a second camera then this wire should not be
connected (or a simple switch put in to disable it when
the second camera is connected). The monitor can be
manually turned on to display the camera at any time and
can be left on whilst driving.
The connection between the camera and the monitor is via
a simple RCA cable. Only the YELLOW is used.
If more instructions are needed then you
should be getting this unit professionally installed
Of course all items supplied should be tested BEFORE
installation.